Last Updated: 2025-01-31 19:20:32
Curator 101: Changing PHP Configuration

Matthew Orr
Curator Engineer
December 28, 2021
Some History and a Prediction
Take a journey with me back in time. In the beginning of what would eventually become Curator, we thought it was a good idea to bury our recommended PHP settings in hard-to-find documentation that may or may not have been published on the web. For anyone who purchased Curator, it turned out to be this unintended but thrilling (not in a good way) game of waiting until something caused problems, guessing at a solution then contacting Curator support when the problem didn’t go away. Believe it or not, this was also an unenjoyable experience for the InterWorks Curator team to troubleshoot and fix.
One day, we got bored and wondered what would happen if we turned a lose-lose game into a win-win. As logic-defying as that may have been, we decided to give it a shot anyway, so we added alerts and warnings to Curator’s backend to show when things weren’t set up optimally. It included things like when PHP’s memory or upload limits were set too low.
That brings us to today. My prediction is that you saw one of those warnings, so let’s dive in to how to fix it, so those warnings stop nagging you.
Finding PHP’s Configuration
There are only a few different places where PHP puts its configuration file. Instead of listing those places and making you search through each one, there’s a definitive way to determine which one applies to your Curator instance:
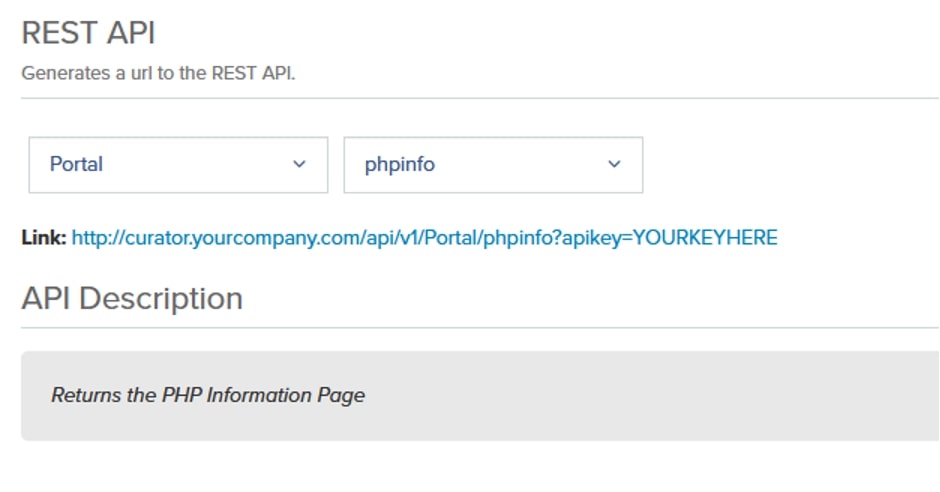
- Navigate to Backend > Settings > Curator > API Keys > Click on one of the keys. If there aren’t any keys listed, go ahead and create one.
- At the bottom of the screen, you should see two drop-down boxes. Select Portal for the left and phpinfo for the right.
- Click on the link below the drop-down boxes to open it in a new tab.
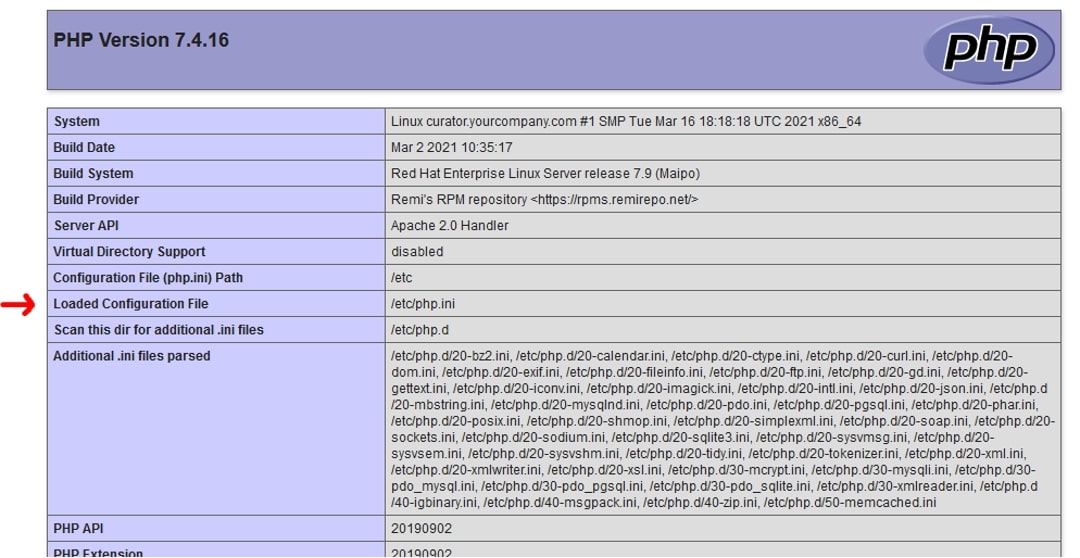
- Near the top of the page, you should see a line with text that says Loaded Configuration File and a path to its right. This will be the location of PHP’s configuration, so take note of it:
Editing PHP’s Configuration
Curator Hosted on Windows Servers
- Remote desktop to the Curator server.
- Find the php.ini file you found in the previous section and open it as an administrator. You may need to open something like Notepad++, sublime text or regular Notepad as an administrator and open the file from there.
- Find the line(s) that need to be changed and make the desired changes.
- Save the file.
- Restart the web service. It could be Apache or IIS depending on your setup.
- For Apache, you should have two shortcuts on the desktop to stop and start Curator. Double-click on the stop shortcut first, wait for it to actually stop Apache, and double-click on the start shortcut to start it back up. If you encounter permission issues, you may need to right-click on the shortcuts to open as an administrator.
- For IIS, open the IIS Manager from the Start menu and click on the button to restart the service.
Curator Hosted on Linux Servers
- Secure Shell (SSH) into the Curator server. If you’re using a Windows desktop, you’ll need to use an SSH client like Putty.
- Type vi /etc/php.ini (replace the path with the actual path you found in the previous section) and hit the enter key.
- Type /post_max_size (replace everything after the slash with the setting you wish to change) and hit the enter key to search for the specific setting within the file. If it isn’t the first result, hitting the n key will go to the next search result.
- Once you find the setting to modify, use the arrow keys to go to the end of that line and hit the i key to start editing. You should be able to use the backspace key to remove the previous setting value then type in the desired value.
- Once you’ve changed the setting as desired, hit the esc key to quit editing.
- Repeat steps 3-5 as needed to change all the necessary settings.
- Once you’re ready to save, hit esc then type :wq and hit the enter key. This will write your changes to the file and quit out of the editor.
- The last step is to restart the Apache web service. Depending on your system, it will be one of four possible commands to do so. The good news is that the other three wrong commands won’t hurt anything, so don’t worry about getting it wrong. Just try each one until one of them doesn’t show an error:
- sudo service httpd restart
- sudo service apache2 restart
- sudo systemctl restart httpd
- sudo systemctl restart apache2
- In some cases, there may be an additional service running on the server that needs restart before the changes will take effect. If Curator is still warning about PHP’s configuration after successfully completing step 8, try running this command: sudo service php-fpm restart

Managing a self-hosted web platform can be time-consuming, costly, and complex. If you’re currently self-hosting Curator, migrating to our SaaS platform can unlock a world of advantages designed to make your analytics experience seamless and hassle-free, freeing your team to create further impact on your business.

Recently, Tableau has been encouraging the use of connected apps for external applications, instead of using trusted tickets. All of Tableau’s recent embedding features require connected apps. Since this only deals with behind the scenes authentication, there is no impact to the end user. In our effort to remain closely aligned with Tableau, Curator is transitioning to only using connected apps.

Curator has added the feature to be able to send mark commenting data to a webhook. With the widespread use of API integration platforms, this really opens the doorway to virtually unlimited use cases.